Moving Cinema
FilmViewing – Filmmaking Kits: Diary of spaces
‘Diaries of spaces’ is a proposal specifically designed to encourage discovery of cinema as a way of looking and appreciating our everyday environment. It is devised as the first experience and initiation. We are going to take our first steps in the cinema which will become our companion in our daily life and which we will become able to create with tools that are readily available for us: a mobile phone or a home photo camera.


Introduction
The majority of students will be filming the world for the first time. Perhaps they have made some videos with a mobile, but it is likely that many of them didn’t pay attention to the questions that now we are going to propose them: to observe the transformations of the light, to observe the view through the window, to frame the sky, to maintain a longer shot…
Very accurate words by David Perlov in his Diary will show us the way in this initiation: ‘I want to approach what is quotidian. It takes time to learn how to do it.’ We are setting off for a passionate journey, full of discoveries! Together with Perlov and other filmmakers, photographers and painters we will discover cinema in its most powerful sense: its ability to frame the world, frenzy of infinite choices, wonder and trust in cinema and in the world when we look at it attentively.
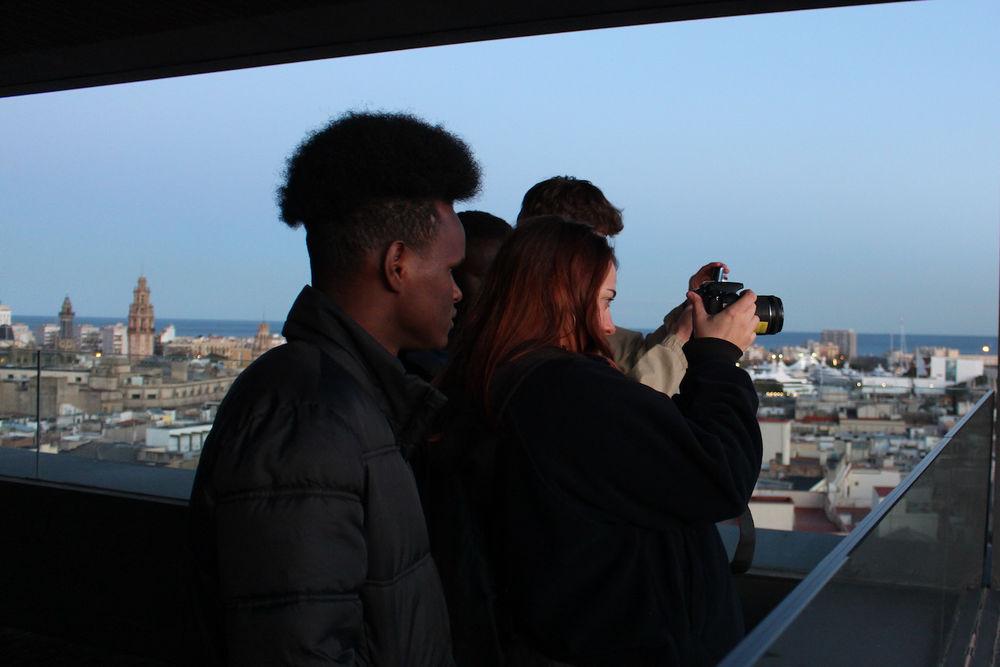
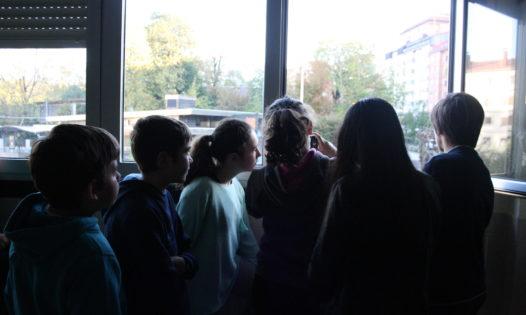
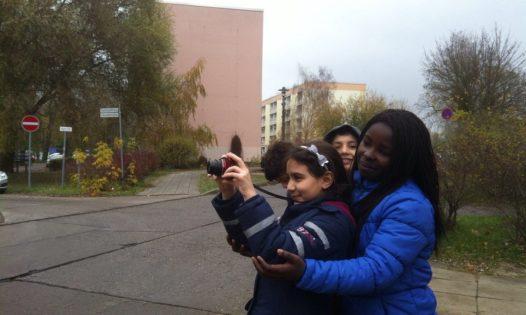
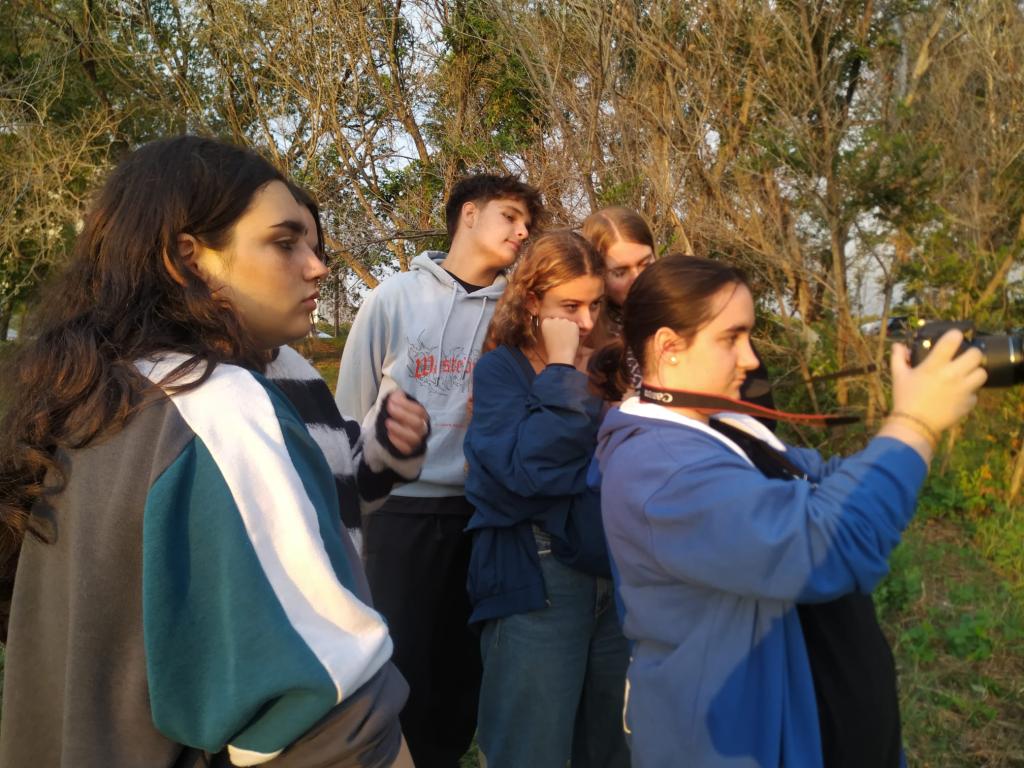
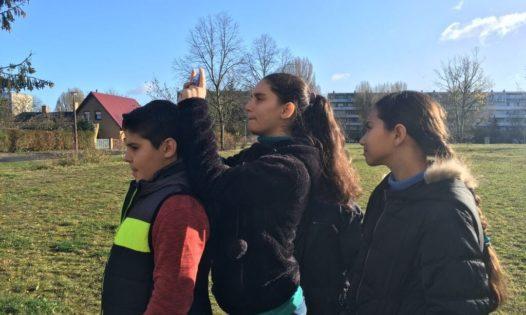
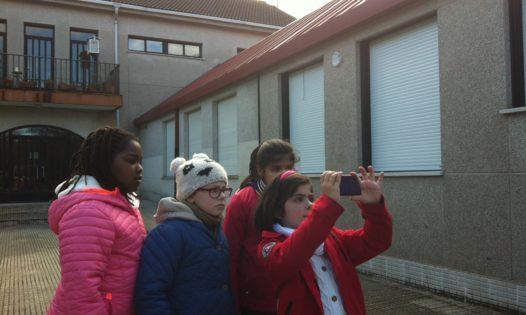
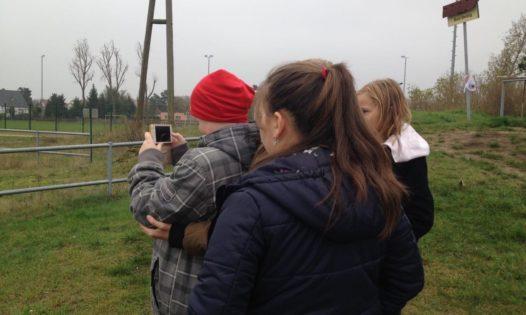
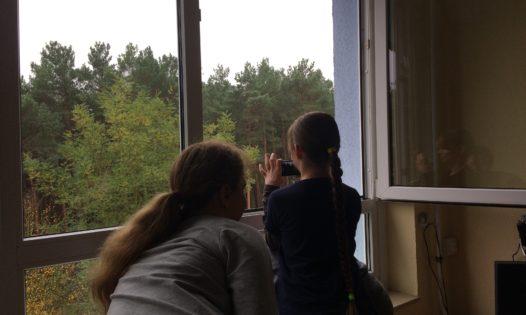
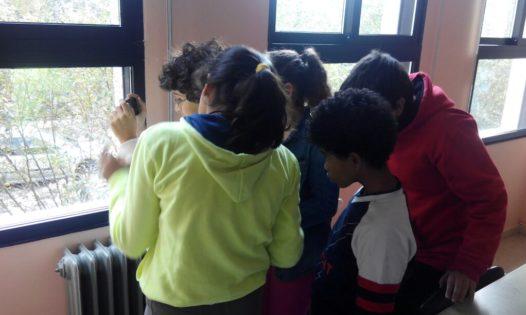
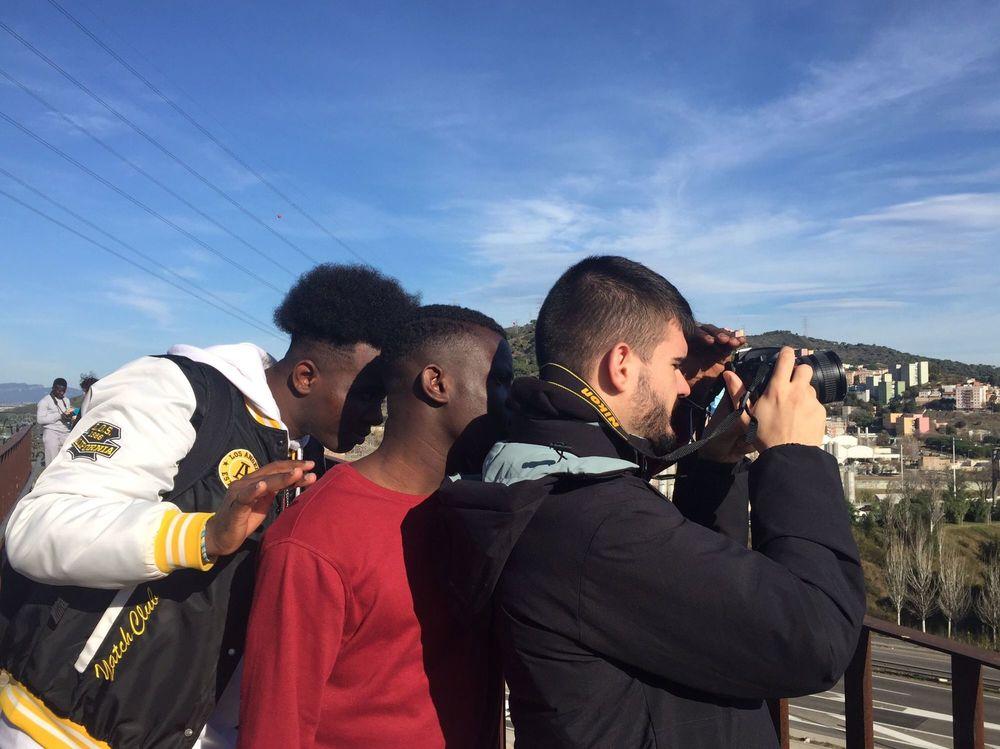
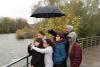
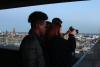
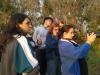
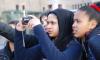
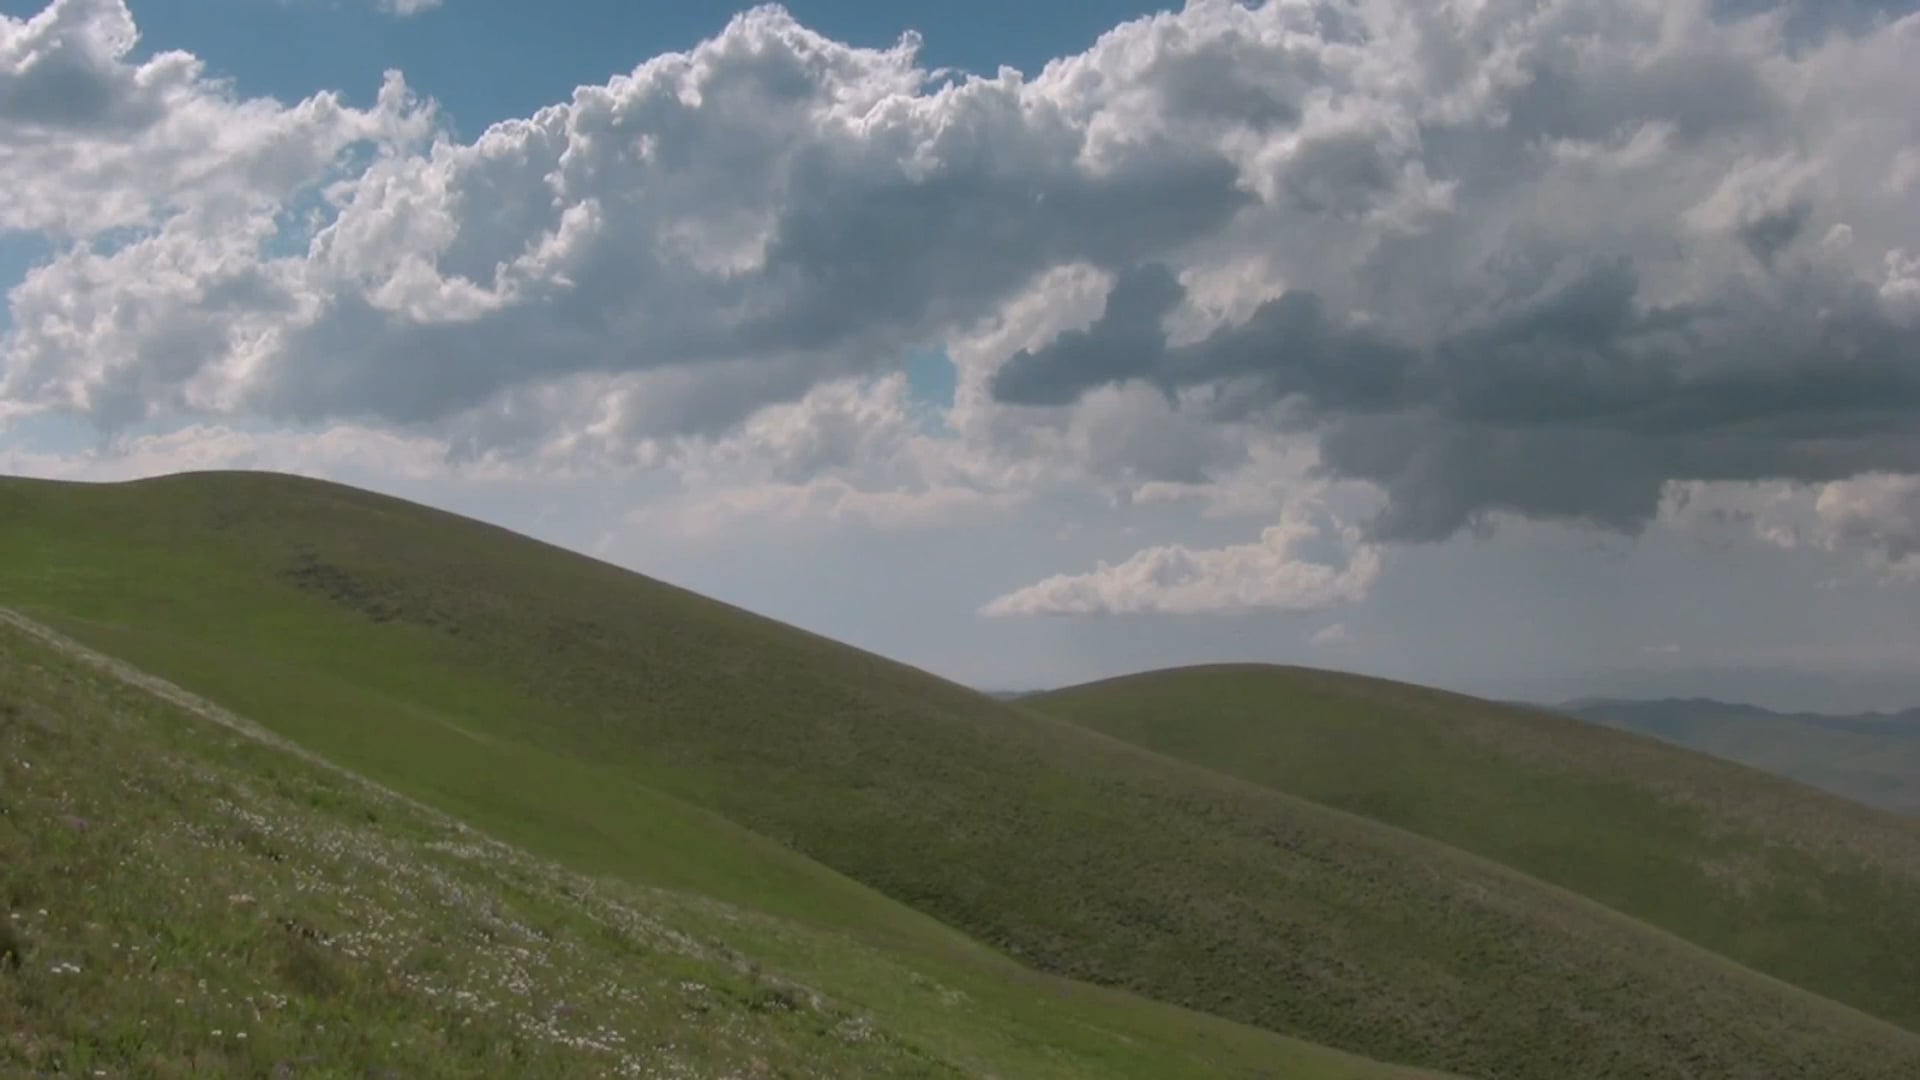
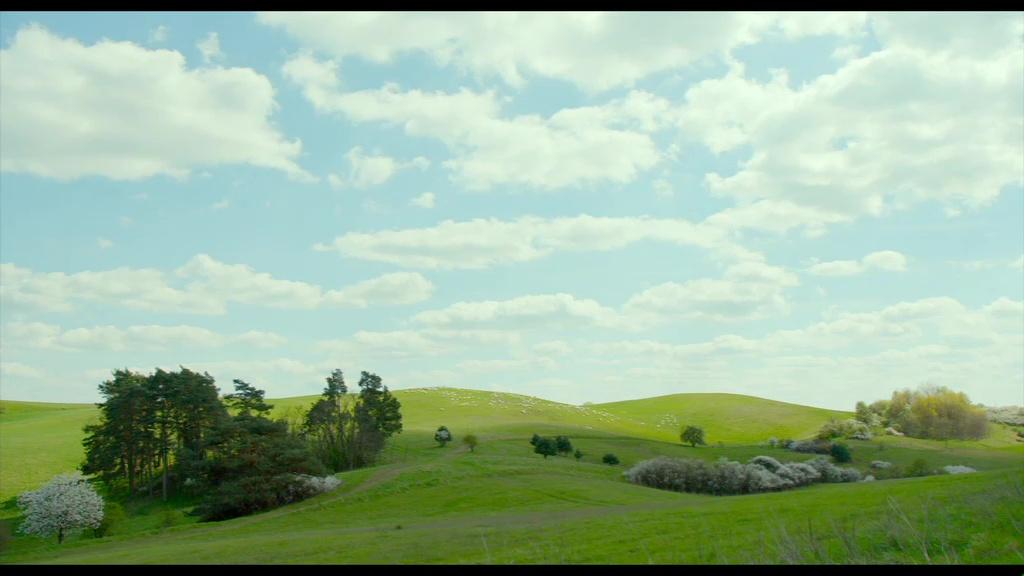
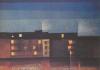
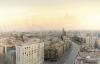
Some examples of practice developed in the moving cinema workshops with mobile phones or home cameras
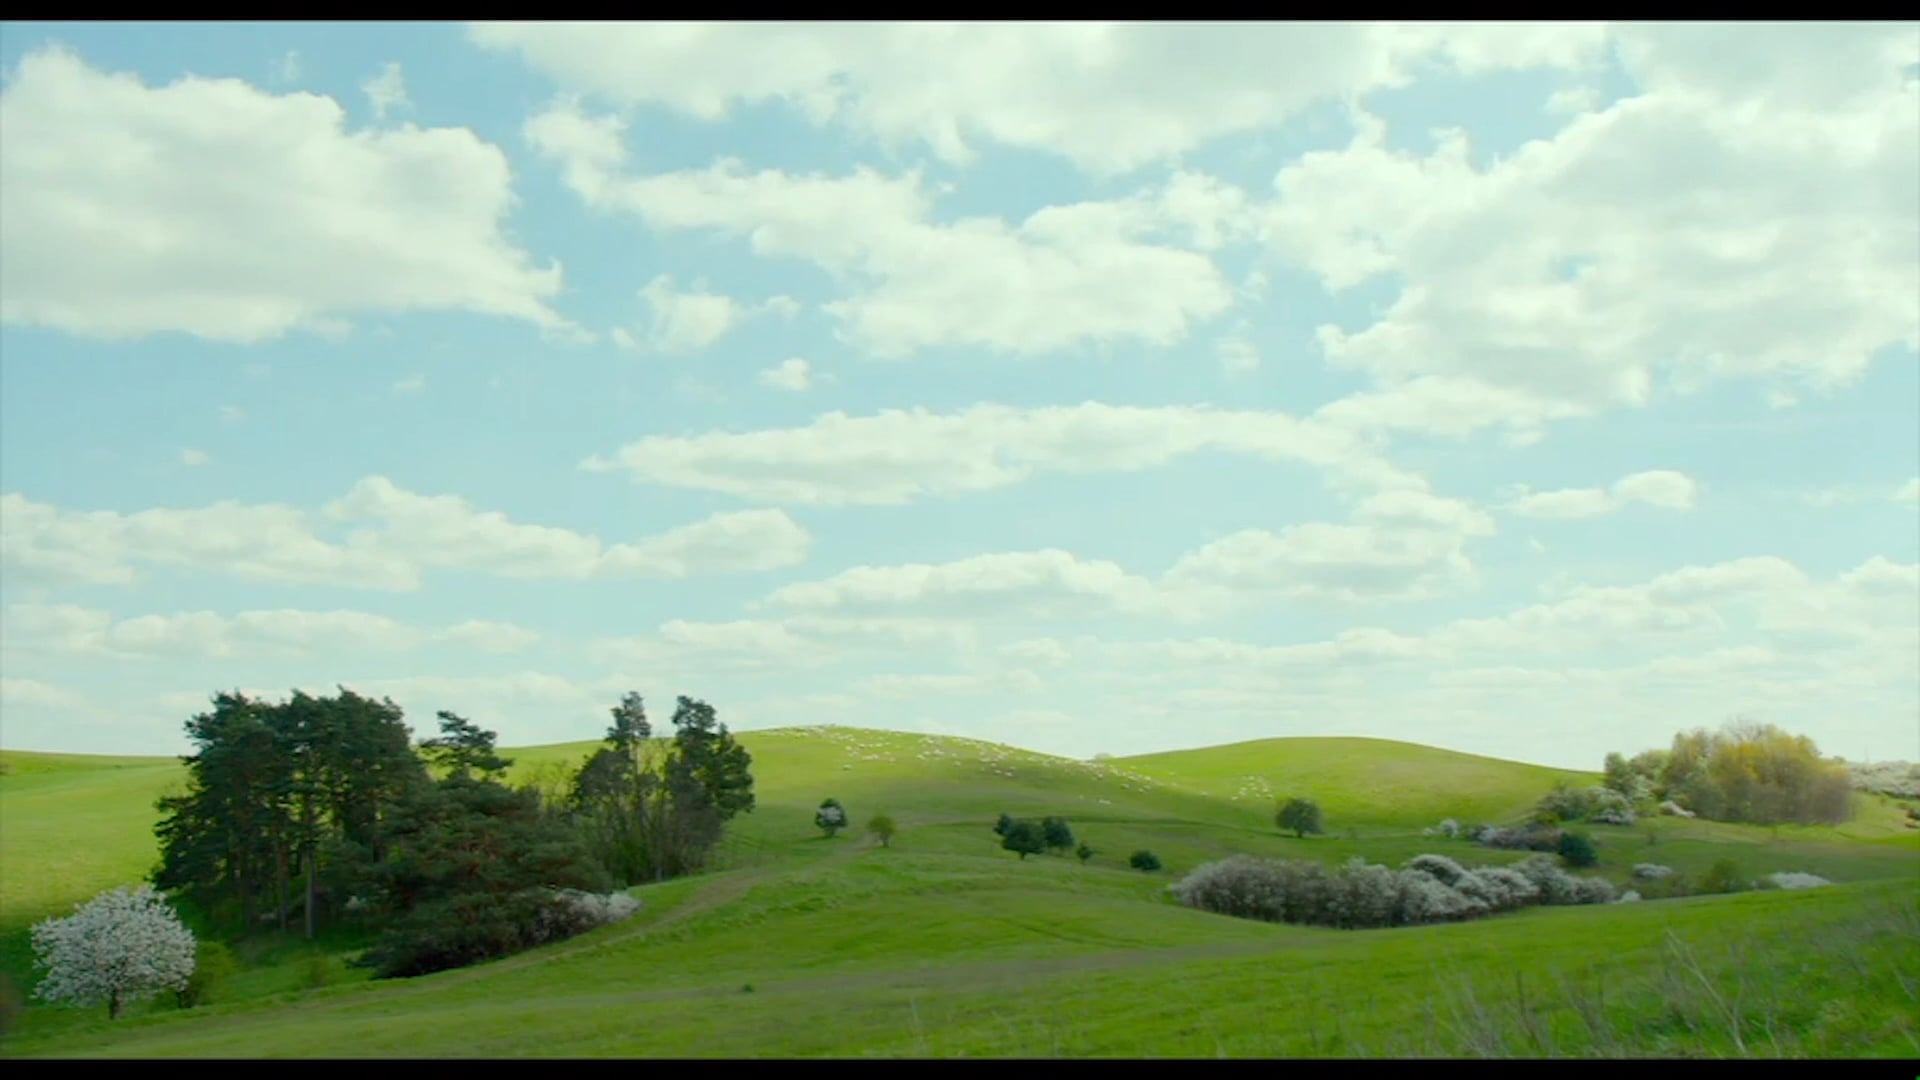
Filmed by Friedrich Böttcher, 11 years old student of Grundschule Brück (Brück, Brandenburg)
Filmed by Alea Gehrt, 11 years old student of Grundschule Schwanenteich (Neuenhagen bei Berlin, Brandenburg)
DEVELOPMENT
Preamble
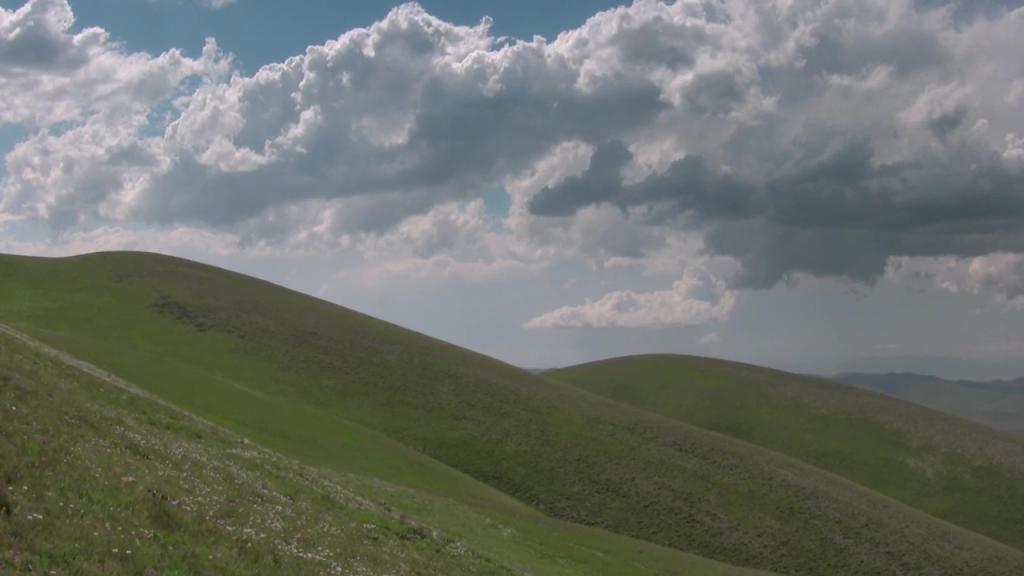
Before we start properly with the cinematographic practice, it would be interesting to stop for a while and give some thought to the environment in which we live. We could start from remembering what we see when we look through the window in the morning once we get up or in the evening when we go to sleep; what spaces, places, streets, paths, buildings, landscapes we see on our way to school or when we go for a walk. It would be nice to write some texts in our notebooks and share them in our group.
Analysis of film excerpts
The proposed film references might be the first encounter with such type of cinema, for some it may look strange, something what they have never seen and very far away from their cinematographic and audiovisual habits. But this cinema appeals to us precisely for the reason that it shows something close to us and what happens every day, that is why it raises our awareness and encourages us to open our eyes and see what surrounds us from another perspective.
The visual material will provide us with ideas, references, sources of inspiration, they will open new creative possibilities and awaken passion to film our shots… Let’s watch the excerpts with attention and interest, asking ourselves what cinematographic choices were made and engaging into a conversation with filmmakers’ films as real filmmakers.
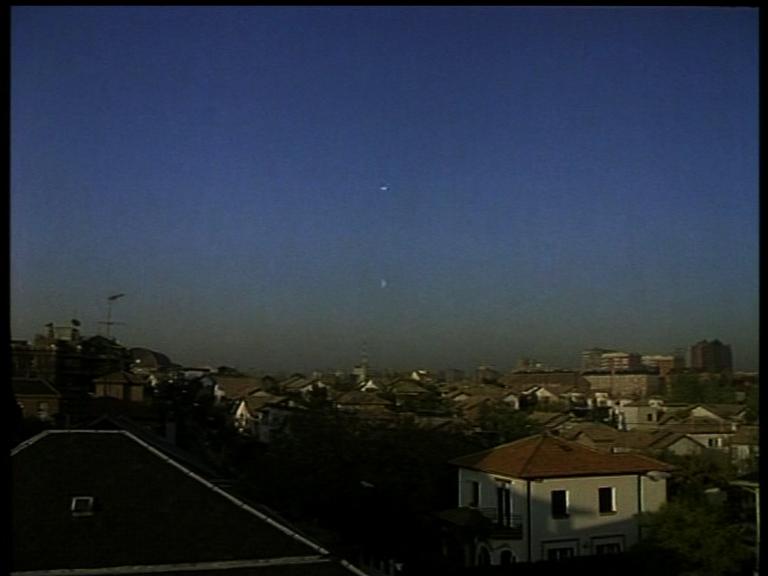
We propose to start watching from the beginning of the Diary by David Perlov and then select excerpts which correspond best to our own environment (e.g. rural or urban area) and serve our aim to sharpen sensitivity towards the expressive value of the light.
See more in the section ‘References’.

Shooting
We suggest developing the proposal in two stages: first, in a group, reaching an agreement regarding the shot among various students with the help of a teacher and/or a filmmaker; next, each student at his or her place, building on what he or she sees and his or her unique sensitivity.
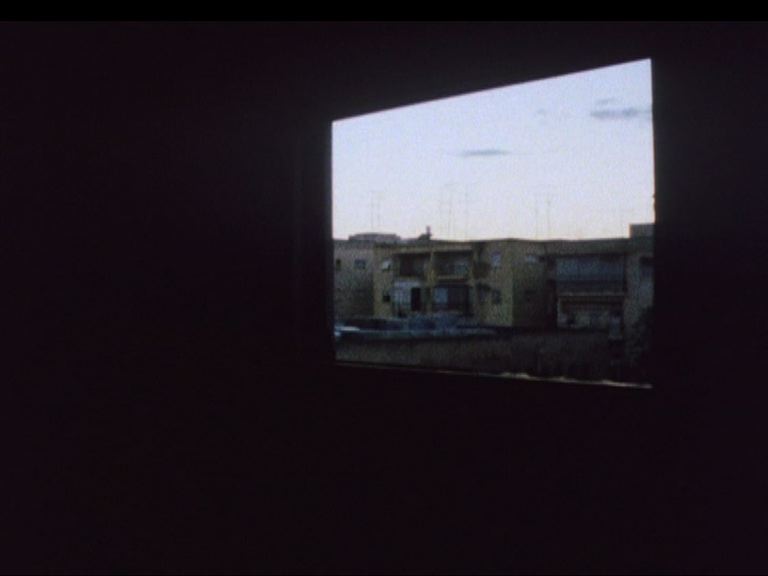
If it is possible in our school, we propose to film through the window, relating the first shot to the reference film by David Perlov. We will need to find a window which has wide enough view and which allows us to include into our framing a big section of the sky, etc. (Therefore, it is recommendable to avoid windows on the ground floor or where we can only see a wall of a building or objects that are too close; we should also avoid barred windows.)
We could also start filming in the surrounding area of the school and go to a nearby place which offers a wide view (for example, it could be slightly elevated place). It would be interesting to take advantage of our walk towards the chosen place, we could walk observing attentively what surrounds us, paying attention to the changes of light, sky and spaces. We start looking at our neighbourhood or town through the ‘filmmaker’s eyes’.
At the moment of shooting in a team, only one of the students will hold the camera in his or her hands, but the choices must be made together. It is important to take time to look around: to evaluate different options of framing, carefully considering all the elements (the sky, buildings, trees…); we will examine carefully the light (whether, for example, sunlight lights up a certain wall or the crown of a tree); and we will evaluate possible transformations in our shot (traffic, birds, clouds, wind…). Having observed it all, we will define the framing, we will do that moving around and ‘looking for a shot’; trying out different options and focusing on the four limits of the frame. For the ‘Diaries of spaces’ the presence of the sky is crucial: it should occupy a big part of the framing. The role of the teacher is to accompany the process and to make sure that the conditions allow us to reach as deep and rich result as possible.
Our shots shouldn’t be shorter than one minute long and during this time span we should be particularly attentive to what is happening in the shot, we must agree when it is the time to cut and try not to make it too short, for example, we shouldn’t cut the shot when a bird is in the middle of the shot or when we hear ringing bells.
It is very important to establish a protocol before we start shooting. One member of the team will give indications: 1) Is everyone ready?; 2) When everybody is ready, he or she will give a sign to start shooting: ‘Camera?’; 3) Then the student who is filming after having started should say: ‘Filming’ (or say it just before starting to film if we can not edit it out later); 4) When we look at each other and decide that we can finish the shot, this person should touch the back of the student who is filming, thus indicating him or her to cut, and when it is done to say ‘Cut’.
To finish the shooting we will celebrate this first experience with applause and later we will comment on what we appreciated during the shot, whether something special happened, what surprised us…
This ‘first time’ is particularly important as in a certain way it lays the foundation and shapes further practice of the students when they film alone in an independent manner.
How we film
- The framing should always be horizontal: it is the cinematographic format! (Imagine our shot screened on the cinema screen!)
- We will film static shots, without moving the framing during the whole shot. We should try to maintain shots fixed, acting as a tripod. If we realise as we film that it would be nice to reframe the shot (birds are passing by…), we should do it in a very slow and gentle movement, and once we have reframed it we should maintain the shot for quite long.
- We will film with a wide-angle or medium lens (never with a telephoto lens = actively zooming in). A wide-angle lens makes the space open up and generates a wide angle of view, while a telephoto lens flattens it and evokes the feeling of a closed space, opposite to what we are aiming for in this practice. We should never touch the lens (the zoom) during our shot.
- Duration: we will film long shots, we should give time to small things to happen in our shot (for example, if a bird has crossed our shot, we will wait long enough after it has already left our shot and only then we will cut). We will film for around 1 minute, but it doesn’t mean we have to set a timer and by no means we should cut after 60 seconds. Instead, we should observe attentively during the shooting and decide when to finish depending on what is happening in the shot.
- The value of the sound: it deserves a lot of attention, too. We will locate the microphone of the camera or a mobile and will try not to touch it during the shooting so that we record the best sound possible.
It would be interesting to establish these criteria together with the group of students, constantly referring to what we have seen in the excerpts.
Students’ diaries of spaces outside school hours
When we propose students to film outside school, in their own places and the way they wish, it would very valuable to make beforehand a list of possible shots and evaluating the ideas ask the following questions:
what is the space like?
from what point are we going to film?
at what time? what is the light like at that time?
what part of the sky will be seen?
We should celebrate the ideas and encourage enthusiasm to film! The contagious enthusiasm to film will be essential for the process.
Editing
If it is possible to organise that, it would be interesting to edit the filmed shots. If we do that, the shots will obtain properties of a tiny film.
As a rule, we will edit the shot adding at the beginning a short text where we will indicate the place, the day and, perhaps, the exact hour when we filmed this shot. For example: ‘Barcelona, 10 October 2020, at sunset’ or ‘Barcelona, 10 October 2020. It is 10 p.m.’ or ‘Barcelona, 10 October 2020. I’m filming a view through the window of my home, it is 10 p.m.’.
The text should always be placed at the beginning, before the shot, acting as an opening. It should be written in white on black background, in a discreet font size and without adding any effects. At the end, we include a credit with the name of the autor, the school and the school year
At the moment of editing, we will be able to decide again on the duration of the shot and when it must start and end.
Viewing, presentation and comments on shooting
It would be interesting if every team could present their shot to their peers and explain their choices, discoveries, decisions they have made… It is a very important moment because it helps to internalise new skills and to highlight the importance of these first shots.
When the students will start filming individually it would be equally important and valuable to find time to share, comment and appreciate their shots.
ORGANISATIONAL ASPECTS TO BE TAKEN INTO ACCOUNT IN THE SHOOTING
Organisational aspects
In collective shootings, we will work in teams, from 4 to 6 students in each.
We estimate that it will take 1 hour or 1 hour and a half to film the first shot.
We will use only one camera in each team and we will try to make sure that all the students participate actively in the preparation to film the shots.
During the shooting we should always stay behind the camera.
During the shooting we will keep totally silent because we will be working with the sound of the world that we will be filming. Before we start shooting, we will establish a special code of gestures in case we need to communicate while we are filming, for example, to tell others that something worth filming will enter the framing (some birds, a passer-by, an approaching train…), to communicate the decision to continue filming or to stop doing it.
It would be interesting, once the shooting has finished, to dedicate some time to note down everything that we have learnt (we could make a list of ‘Discoveries’) and comment on our experience with the rest of the groups.
Necesarry materials and equipment
A video camera or a photo camera with the video mode, for the shooting in teams.
Home photo or video cameras or mobile phones for the students to film outside school.
In case we decide to edit the shots, we would need a computer with video editing software. Kdenlive, open-source software, might be an interesting option.
Some cinematographic references


Some pictorial and photographic references
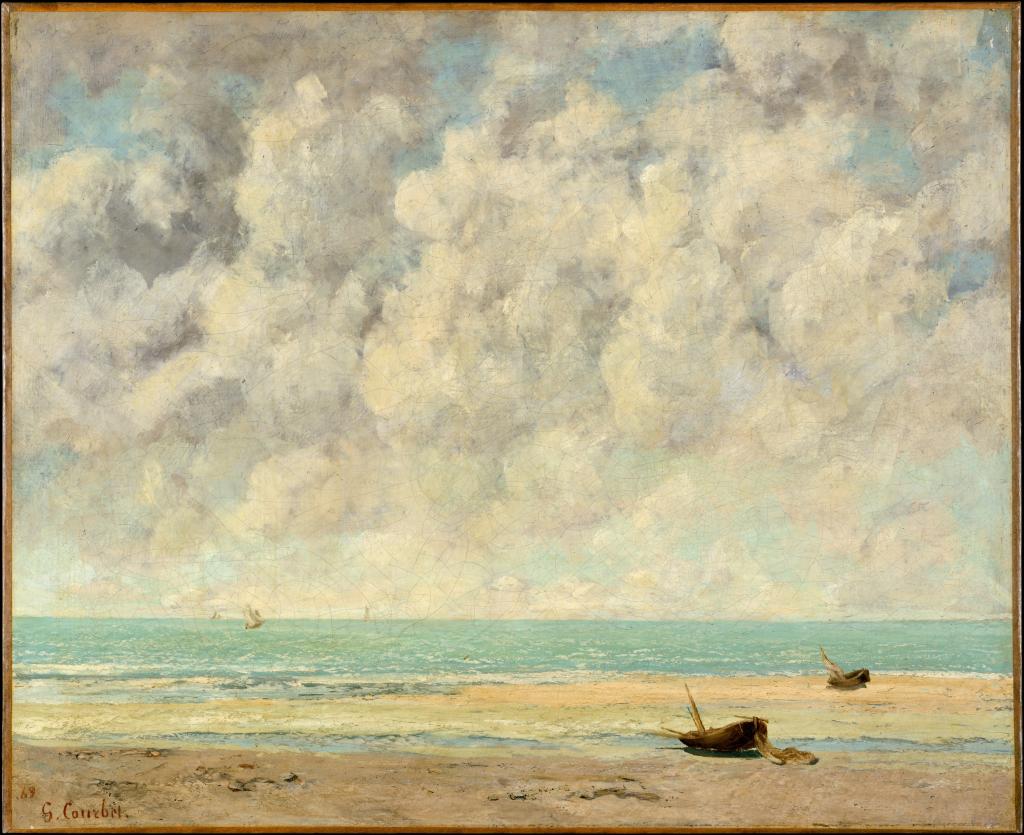
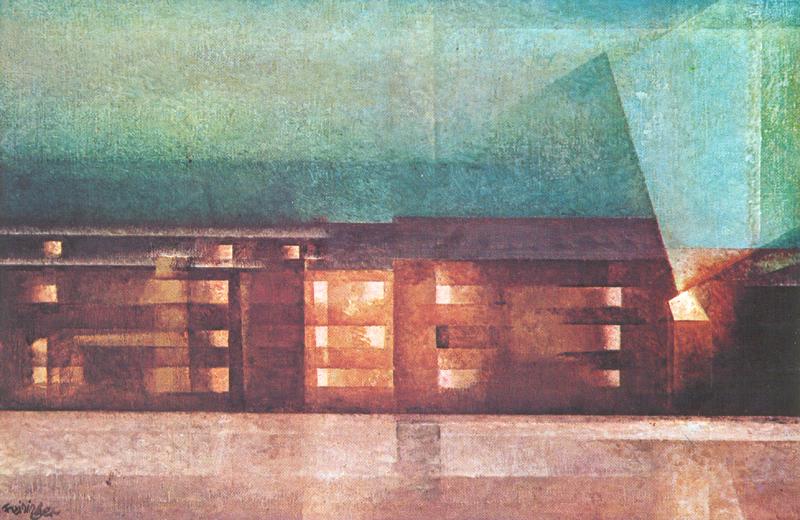
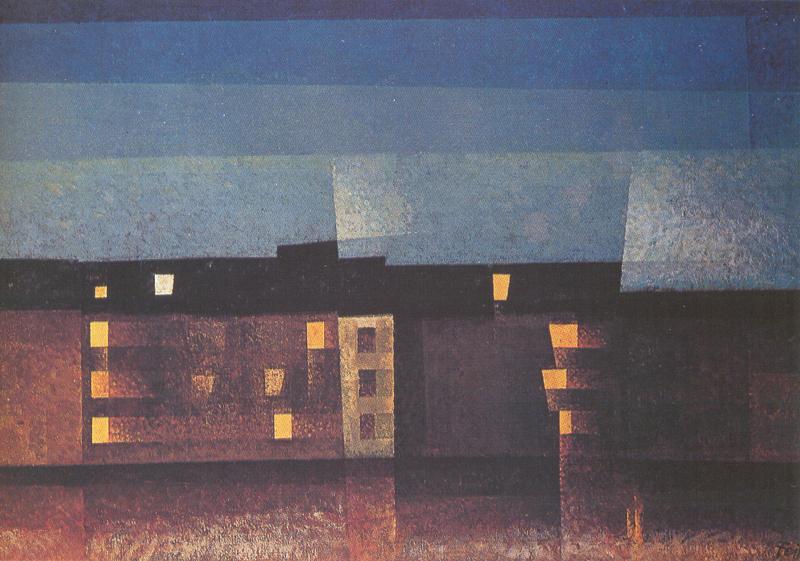
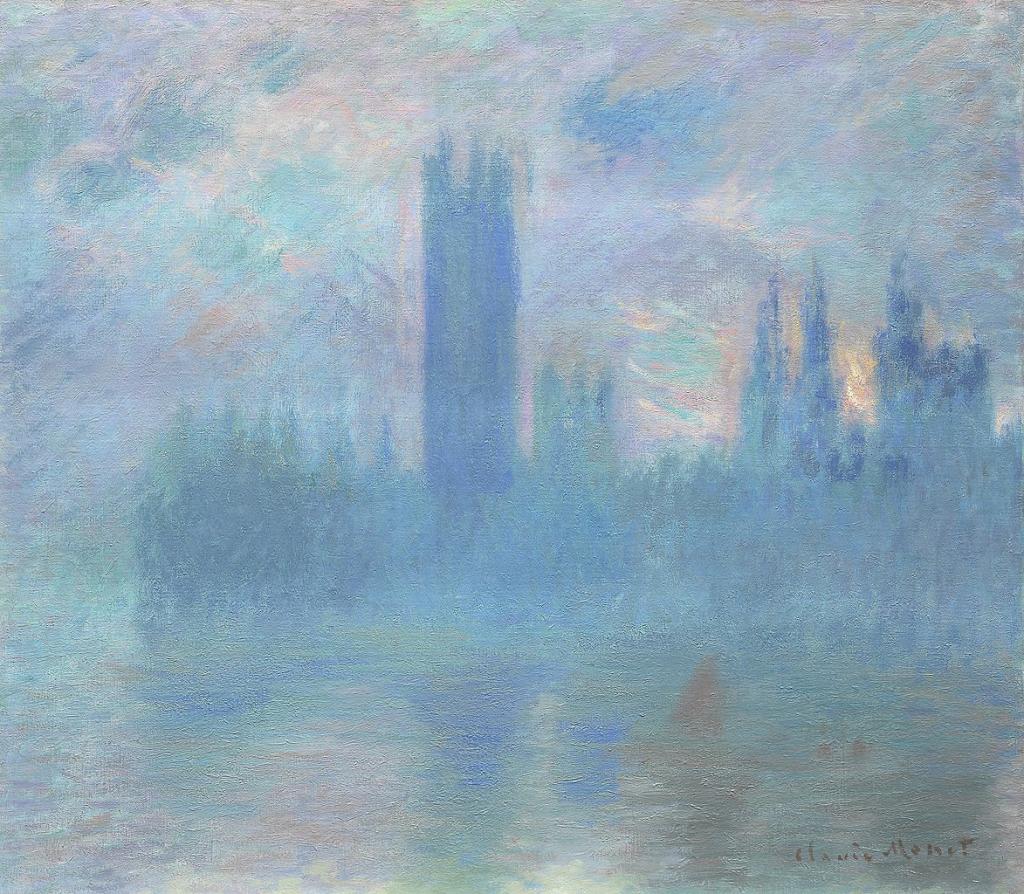
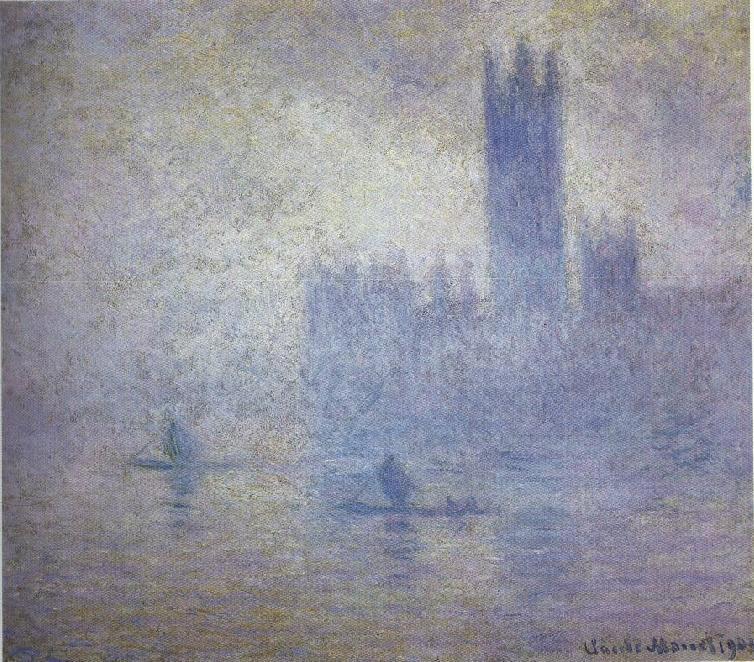
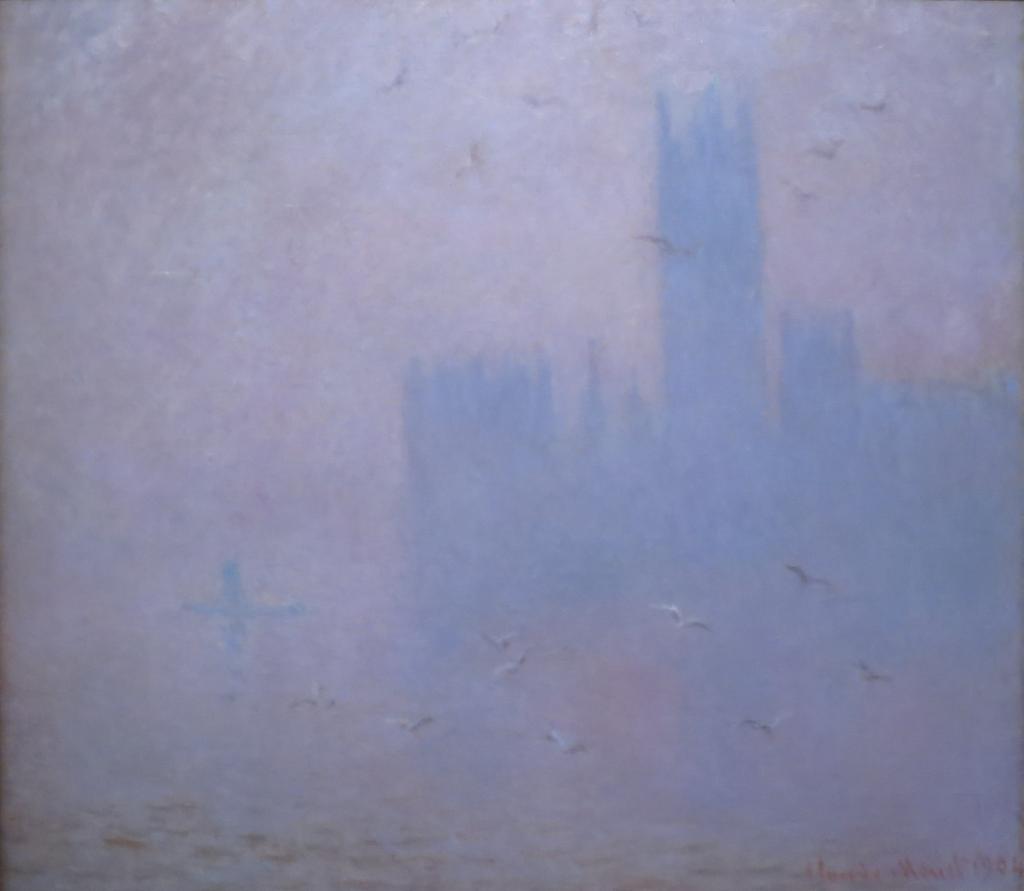
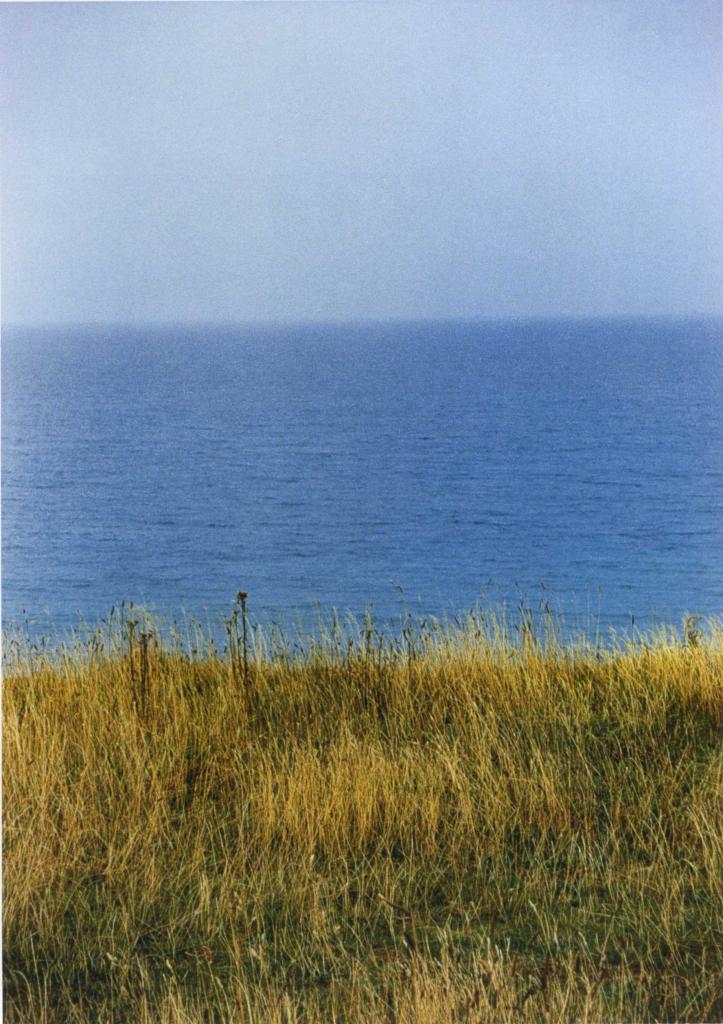
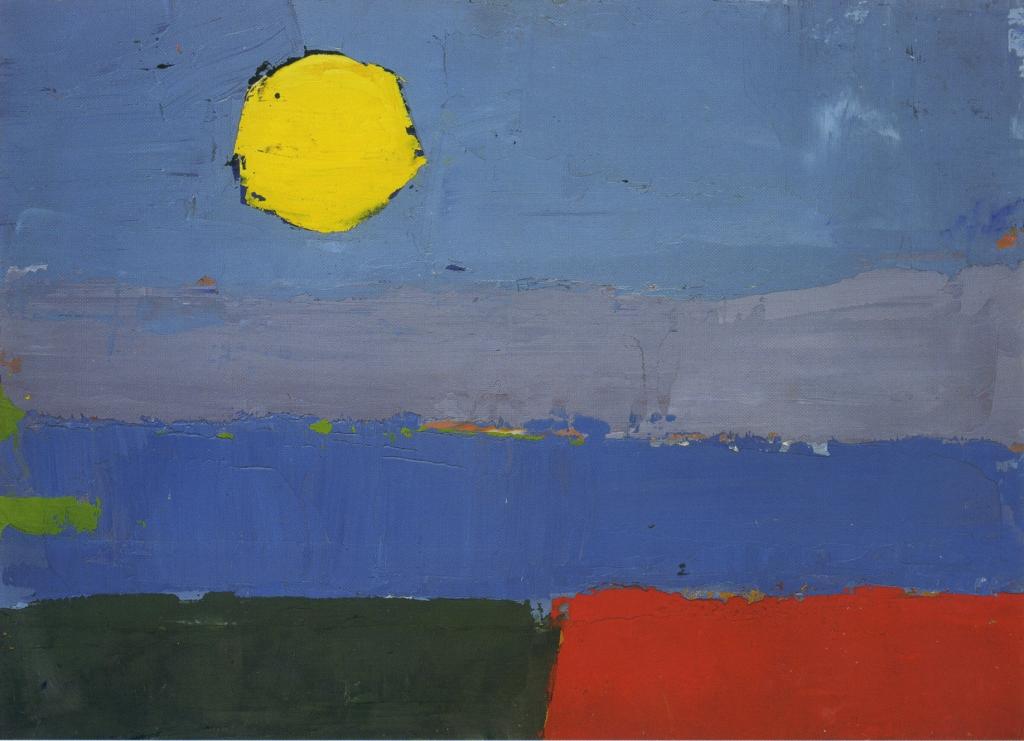
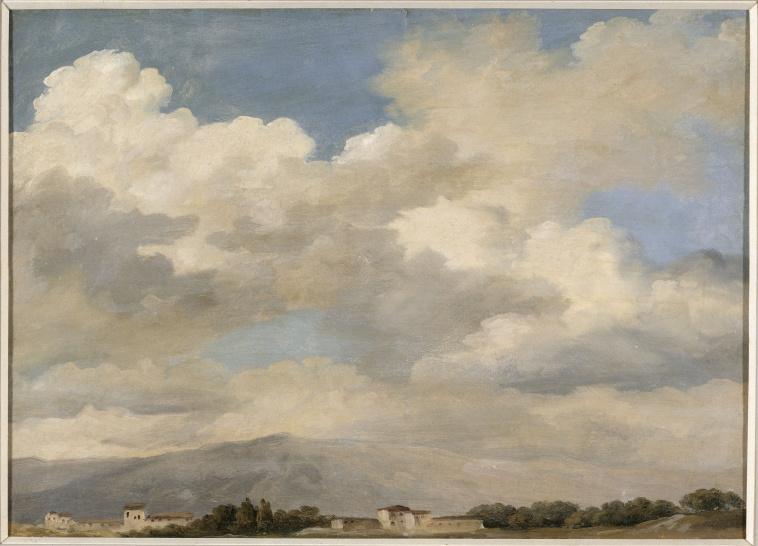
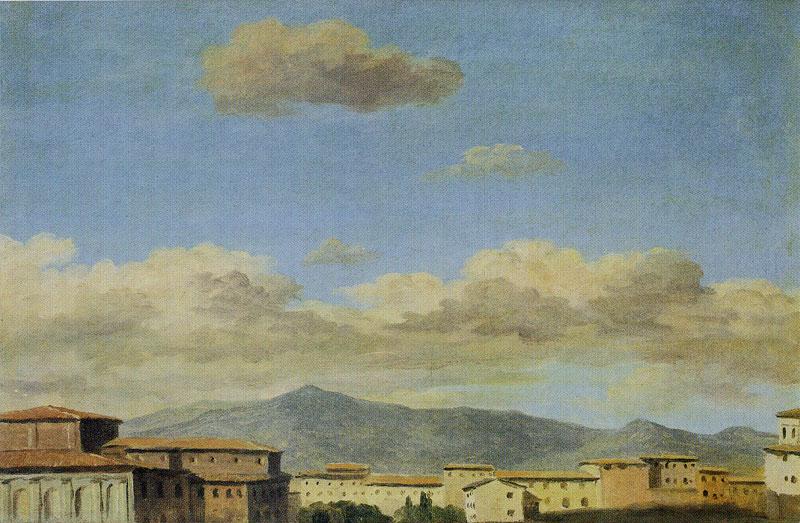
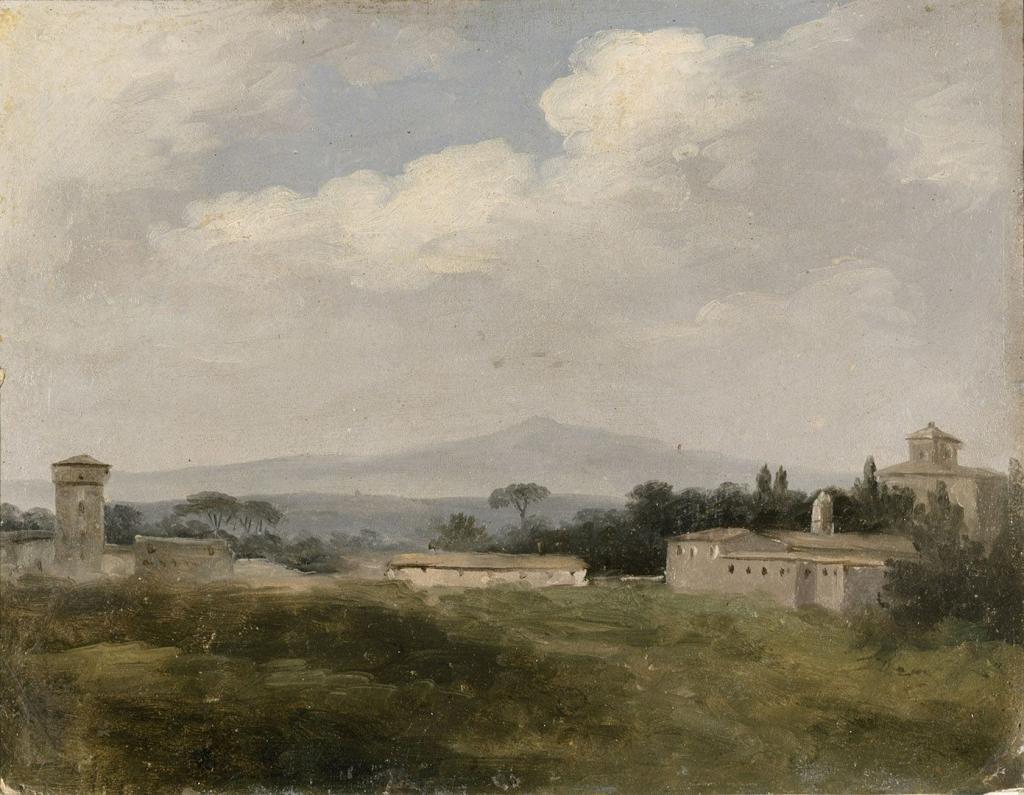
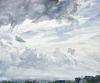
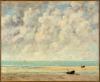
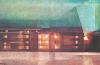
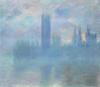
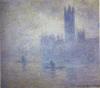
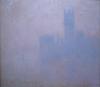
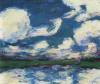
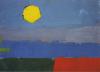
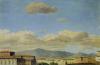
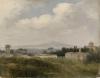
The representation of landscapes, places and spaces has inspired innumerable artists of different styles and times. It would be beautiful and interesting to look at paintings by painters who have extensively explored the motive of clouds: we could find inspiration, for example, in the artworks by Gustave Courbet, John Constable or Pierre-Henri de Valenciennes. Some particular paintings by Nicolas de Staël could also enrich the way we look at the landscape and the sky.
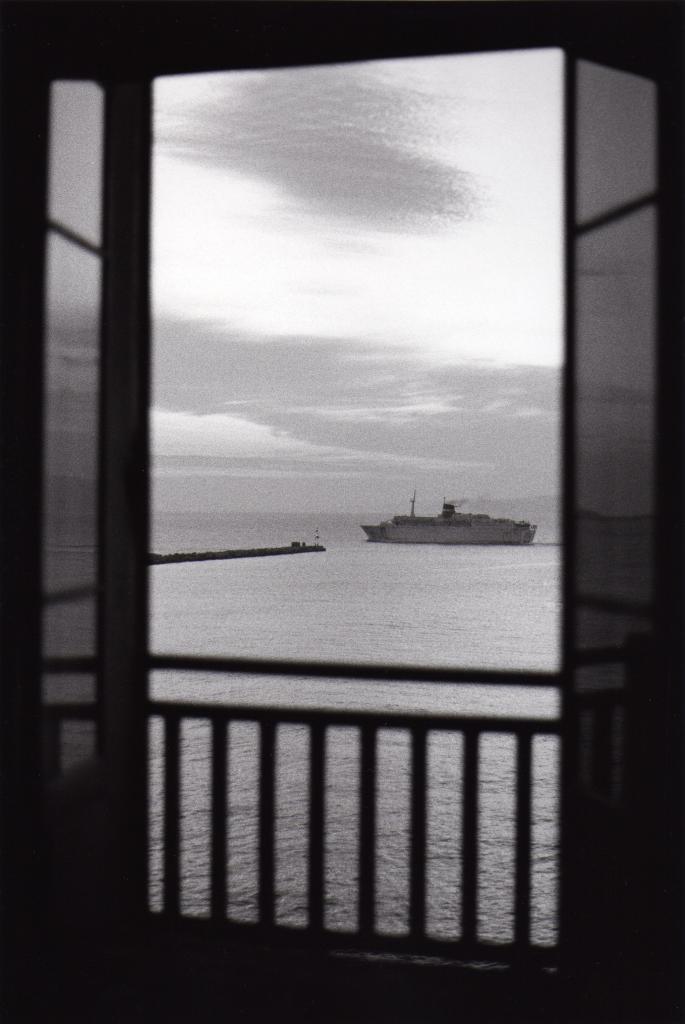
The projects by photographers Bleda and Rosa are also highly evocative.
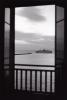
And without any doubt, we can set off for a precious journey through the paintings and photography of windows. In fact, the first picture in the history of photography, taken by Nicéphore Niépce in 1827, was made through a window, and since that moment a huge number of other authors of reference, such as André Kertész, Alfred Stieglitz or Paul Strand, have been exploring this motive.


![]()
A project led by
with
Co-founded by
Previous editions