Moving Cinema
FilmViewing – Filmmaking Kits: Trees
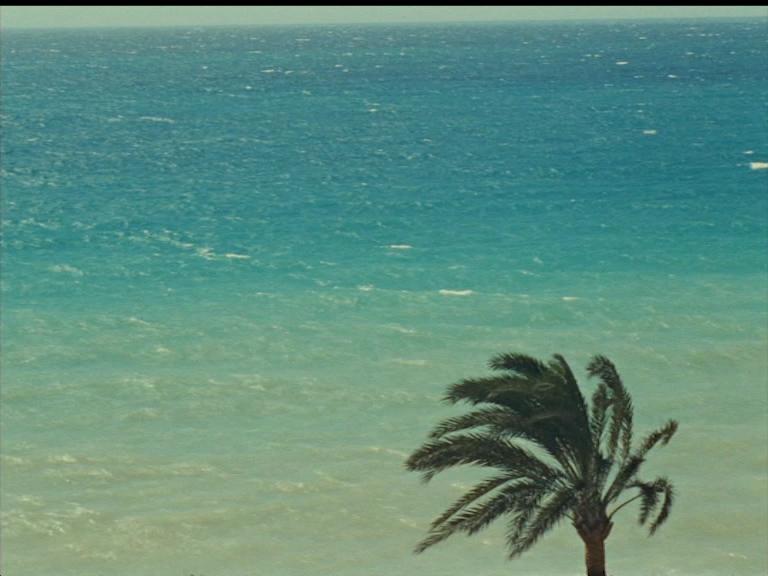
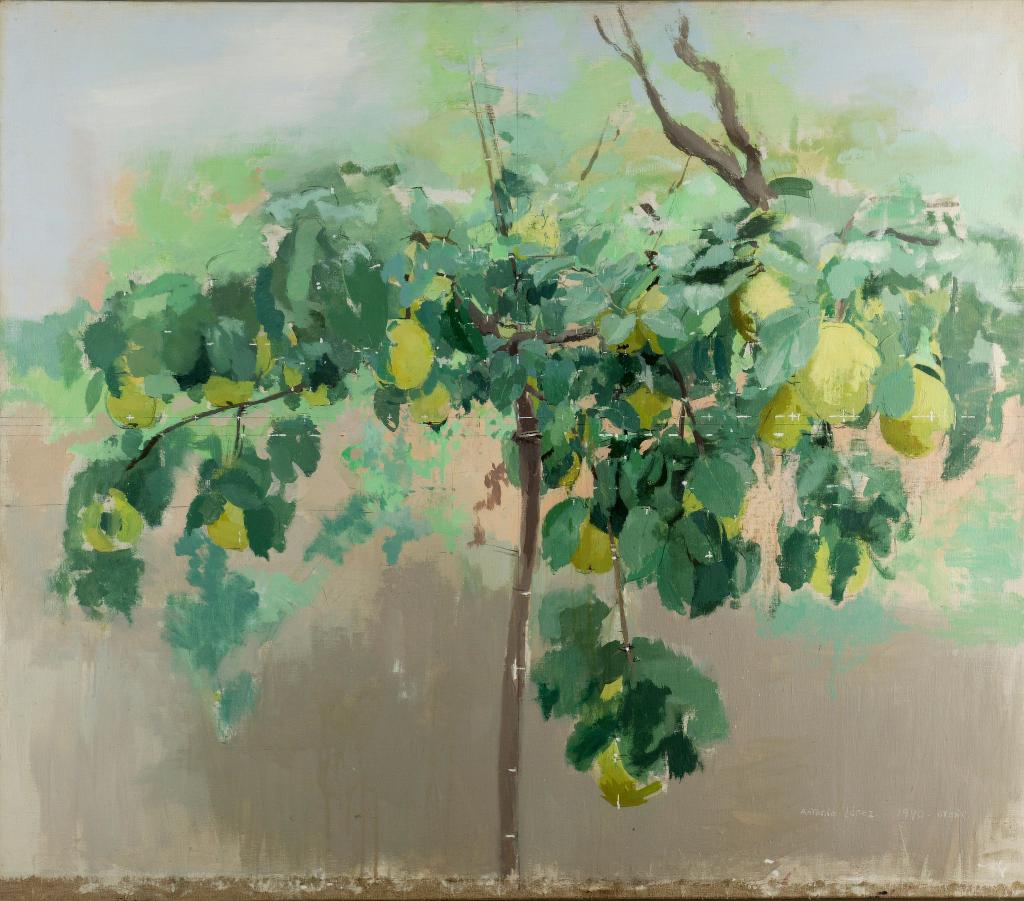
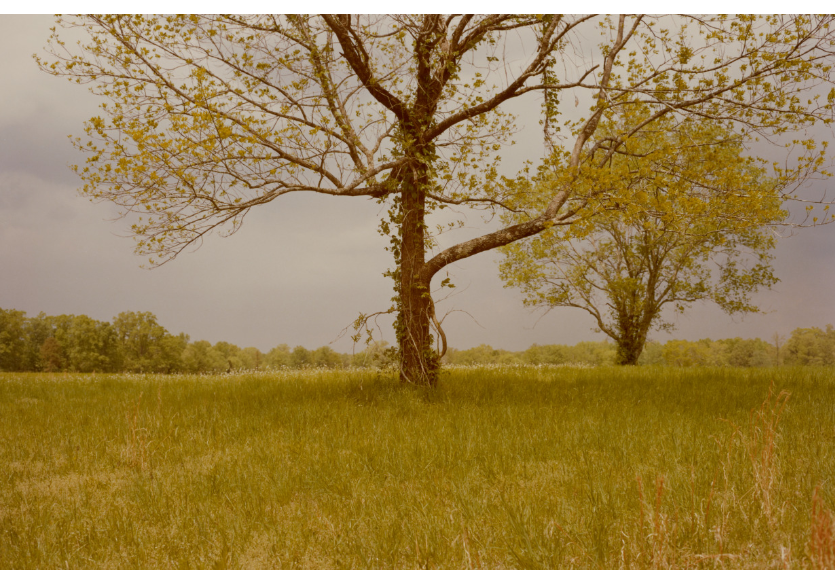
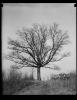
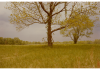
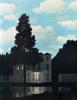
Over the course of many years we live side by side with trees which inhabit our streets, villages, cities; even our school yards. We hardly ever look at them; nevertheless, we know that they are fascinating and have fascinated creators of all times and of all art forms: literature, painting, photography and, of course, cinema.Bordils-1-526x315.jpg


Trees have something unique what makes them special from the very start: they are living beings which stay rooted in one fixed place but at the same time experience countless variations as the seasons and weather change – especially when the wind rises and the light plays with shadows – and as they grow and get old… Actually, we all interact with trees: they offer us a shade from the blazing sun; we wait for their fruit; lean back against them…
That’s why trees can be portrayed, that is: looked at with attention and affection, examined searching for singularities that make each tree unique, forming affectionate relationship, which revolves around our memories and life experiences.
Jonas Mekas, great Lithuanian filmmaker, who started making films after arriving to New York, where he lived till his death in 2019 at the age of 96, refers to his experience in the following way:
There was a tree in Central Park which I wanted to film. I really liked it and started filming very early on – when I was taking my first steps in cinema. […] It is my tree! It is the tree that I love.
What we propose here is to reassume the gesture and passion of Jonas Mekas and create our own portraits of the trees we love or which we will learn to look at and love through the cinema. We will observe and film them, we will get to know them with our camera, we will be attentive to how they change and vary at different moments of the day and during the course of the year, with the passage of seasons.
Some examples of practice developed in the moving cinema workshops
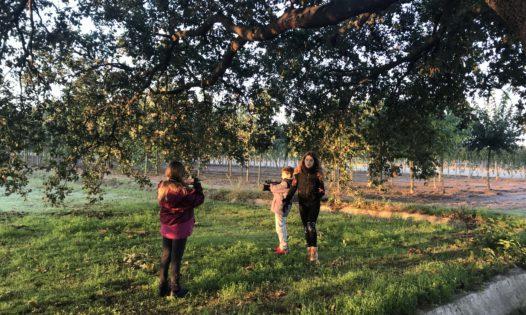
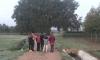
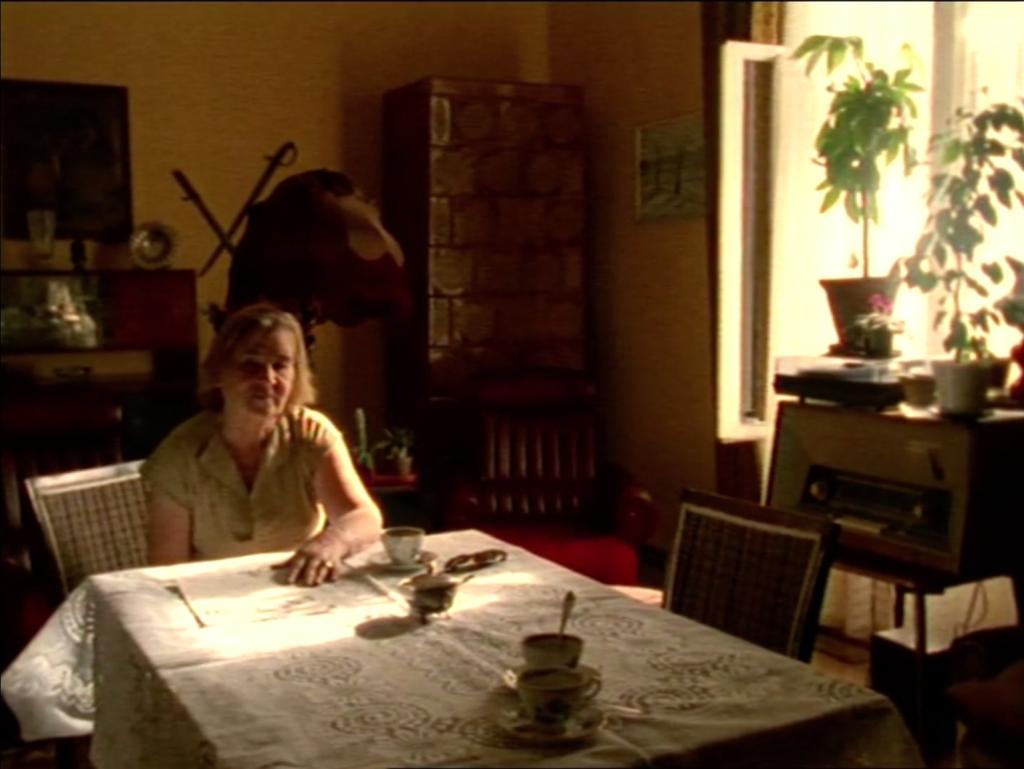
Filmed by 14 years old students of Institut Barres i Ones (Badalona, Catalonia)
Filmed by Buxu Yang, 11 years old student of CEIP Ntra Sra de la Fuencisla (Madrid)
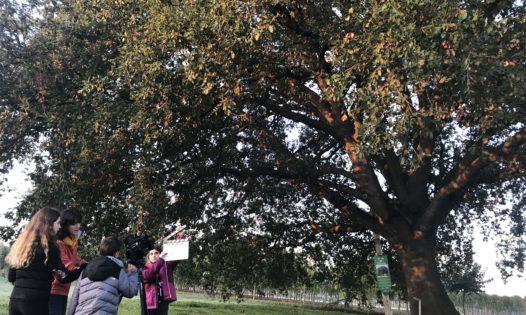
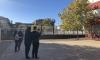
Filmed by students of Institut Milà i Fontanals (Barcelona, Catalonia)
Filmed by students of Institut Milà i Fontanals (Barcelona, Catalonia)
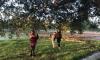
Filmed by a group of 16-17 years old students of Anykščiai Jonas Biliūnas gymnasium (Anykščiai, Lithuania)
Filmed by Jana Araguàs, 15 years old student of Institut Tremp (Tremp, Catalonia)
Filmed by Nahomi González Verde, 14 years old student of CPI Manuel Suárez Marquier (O Rosal, Galicia)
Filmed by a group of 10-12 years old students of Kretinga Simonas Daukantas progymnasium (Kretinga, Lithuania)
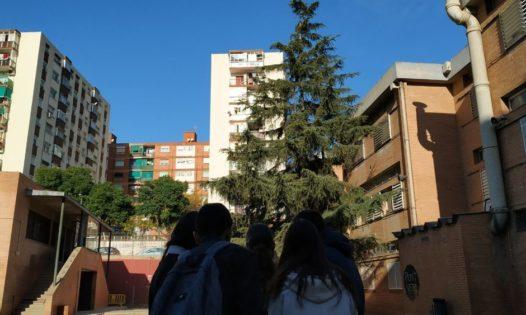
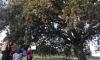
Filmed by 12 years old students of Escola de Bordils (Bordils, Catalonia)
Development
Analysis of film excerpts
The first excerpts, which we propose here, in terms of the properties of the shots are very similar to what we are about to film.
We have also included an excerpt by Jean-Luc Godard, which is technically rather complex, but might serve as a source of inspiration.
Let’s watch the excerpts with attention and interest, asking ourselves what cinematographic choices were made and engaging into a conversation with filmmakers’ films as real filmmakers would do.


Shooting
We suggest developing the proposal in two stages: first, in a group, reaching an agreement regarding the shot among various students with the help of a teacher and/or a filmmaker; next, each student at his or her place, building on what he or she sees and his or her unique sensitivity.
If we have already worked with the proposal ‘Diaries of spaces’ we could directly start working with the portraits of trees in an individual manner, each student independently.
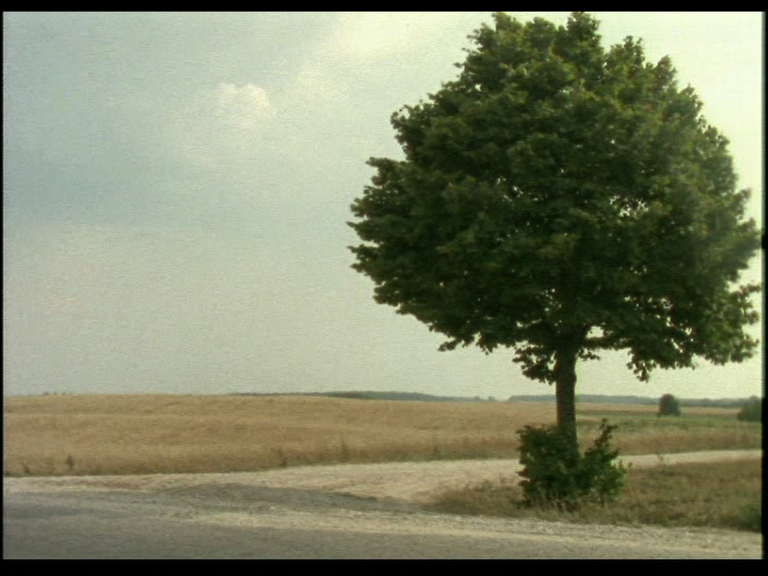
If we start from work in a group, it would be interesting first to go outside and walk around the school area picking out the trees which seem special or which we are keen to film. We shall pay attention to trees as well as their surroundings, we will examine how sunlight lights up their branches and trunk, and we will evaluate whether there is enough space to film them from a certain distance.
Having chosen ‘our’ tree, it is important to examine it: we could approach it and examine carefully at different moments of the day, so that we see how it transforms as the light keeps changing; we will attentively observe its colours and shapes… Then, already holding a camera in our hands or framing it with our hands, we will move around looking for our framing: we will walk around the tree to look at it from different points of view and to examine the background from diverse perspectives; we will approach it and again move away; we will analyse whether it fits the framing and whether we need any camera movement, we will see how the impression of its dimensions changes as we change the distance; it is also important to consider what role the context of the tree will play: whether we want to show only the tree or include the life around it…
If we decide to start practice from proposing students straightaway to film trees individually, it would be interesting to discuss the above mentioned questions together before we begin.
Our shots should last at least 1 minute and during this time we should be very attentive to everything what will be happening in our shot and we will have reach an agreement when to cut it.
It is very important to establish a certain protocol before we start filming. One member of the team will give indications: 1) Is everyone ready?; 2) When everybody is ready, he or she will indicate when to start shooting: ‘Camera?’; 3) Then the student who is filming after having started should say: ‘Filming’ (or say it just before starting to film if we cannot edit it out later); 4) When we look at each other and decide that we can finish the shot, this person should touch the back of the student who is filming, thus indicating him or her to cut, and when it is done to say ‘Cut’.
To finish the shooting we will celebrate it with an applause and later we will comment on what we appreciated during the shot, whether something special happened, what surprised us…
Editing
If it is possible to organise that, it would be interesting to edit the filmed shots. If we do that, the shots will obtain properties of a tiny film.
We will edit the shot adding at the beginning a sign where we will present our tree and situate our film in time. For example: ‘Barcelona, 20 October 2020. We are filming the tree that we see from our classroom. It is acacia.’; ‘Vilnius, 10 October 2020. I’m filming a tree which I see every day when I go out.’ Or ‘Tenorio, 10 October 2020. I like how the wind makes the leaves of a poplar tree shine.’ Or ‘Brück, 2020. I’m fascinated with the colours of a walnut in autumn.’
The sign should always be placed at the beginning, before the shot, acting as an opening. The text should be written in white on black background, in a discreet font size and without adding any effects.
In case we edit more than one shot of a tree, we should pay attention to the duration and the moments when the shot changes.
At the end of the material that we are editing we will include credits which should consist of the name of the author, school name and the course.
Viewing, presentation and comments on shooting
It would be interesting if every team could present their shot to their peers and explain their choices, discoveries, decisions they have made… It is a very important moment because it helps to internalise new skills and to highlight the importance of these first shots.
When the students will start filming individually, it would be equally important and valuable to find time to share, comment and appreciate their shots.
Follow-up of the proposal
There are countless possibilities in relation with the portraits of trees. We will mention two:
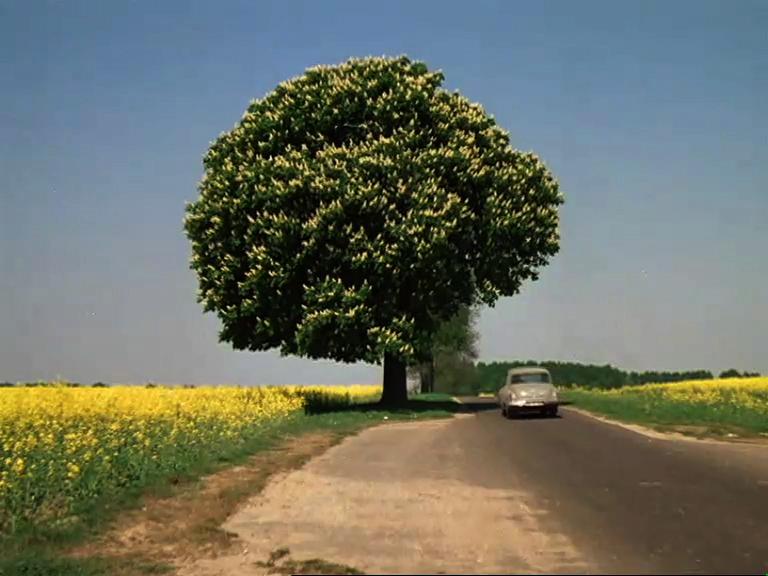
– ‘Catalogue of Trees’. It could be very beautiful to take the shots filmed by each student and to create a little cinematographic catalogue of the trees in our neighbourhood, town or city. We can find some inspiration in the film excerpt by Agnès Varda.
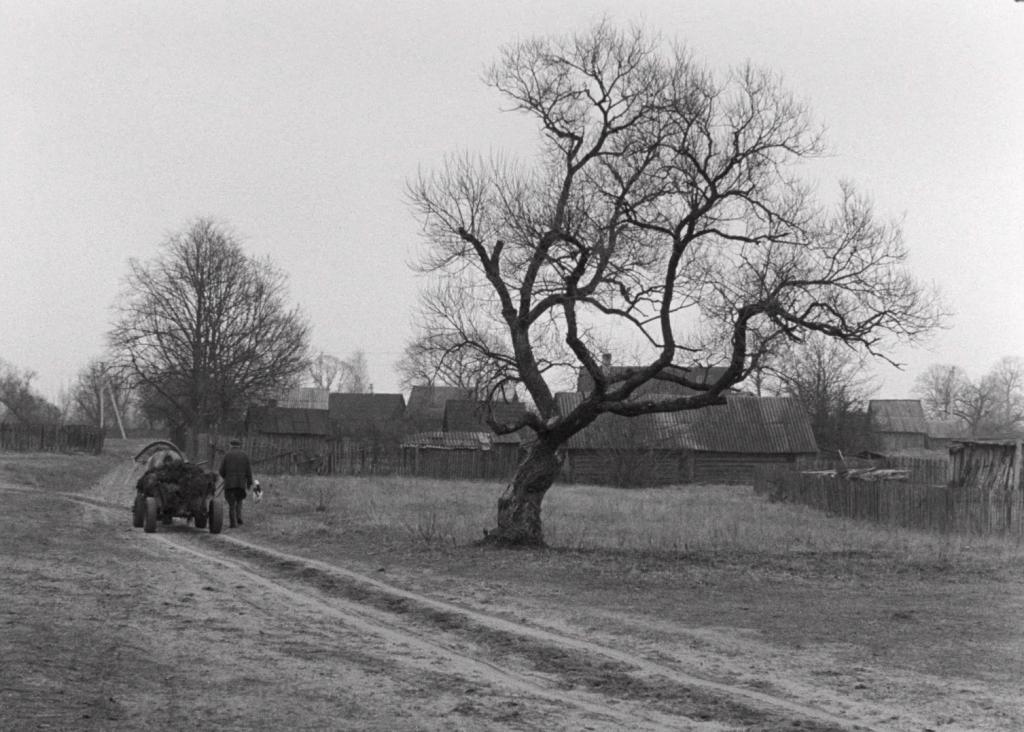
– ‘Diary of a Tree’ over the course of several months. We will look at how a tree changes in different seasons, at different moments of the day, in changing weather conditions (on a windy and windless, rainy and dry, sunny and cloudy day)…
Organisational aspects to be taken into account in the shooting
Organisational aspects
In collective shootings, we will work in teams, from 4 to 6 students in each.
We estimate that it will take 1 hour or 1 hour and a half to film the first shot.
We will use only one camera in each team and we will try to make sure that all the students participate actively in the preparation to film the shots.
During the shooting we should always stay behind the camera.
During the shooting we will keep totally silent because we will be working with the sound of the world that we will be filming. Before we start shooting, we will establish a special code of gestures in case we need to communicate while we are filming, for example, to tell others that something worth filming will enter the framing (some birds, a passer-by, an approaching train…), to communicate the decision to continue filming or to stop doing it.
It would be interesting, once the shooting has finished, to dedicate some time to note down everything that we have learnt (we could make a list of ‘Discoveries’) and comment on our experience with the rest of the groups.
Necessary materials and equipment
- A video camera or a photo camera with the video mode, for the shooting in teams.
- Home photo or video cameras or mobile phones for the students to film outside school.
- In case we decide to edit the shots, we would need a computer with video editing software. Kdenlive, open-source software, might be an interesting option.
Some cinematographic references
We will start from watching and commenting on one or two excerpts. Later it would be interesting to watch two excerpts in a row and comment on both of them together.
All the excerpts chosen as a source of inspiration for this proposal can be approached asking the following questions:
– Where did the filmmaker position himself to film the shot and at what distance? What made him take this decision?
– Is he showing the tree in its context? What is happening in its vicinity?
– How did he or she capture the light, the wind and the weather? What choices has he made?
The same questions will guide us when we film trees by ourselves.
The trees filmed by the filmmakers could also encourage us to think about the trees that grow in our area and which of them we feel could be especially interesting cinematographically.
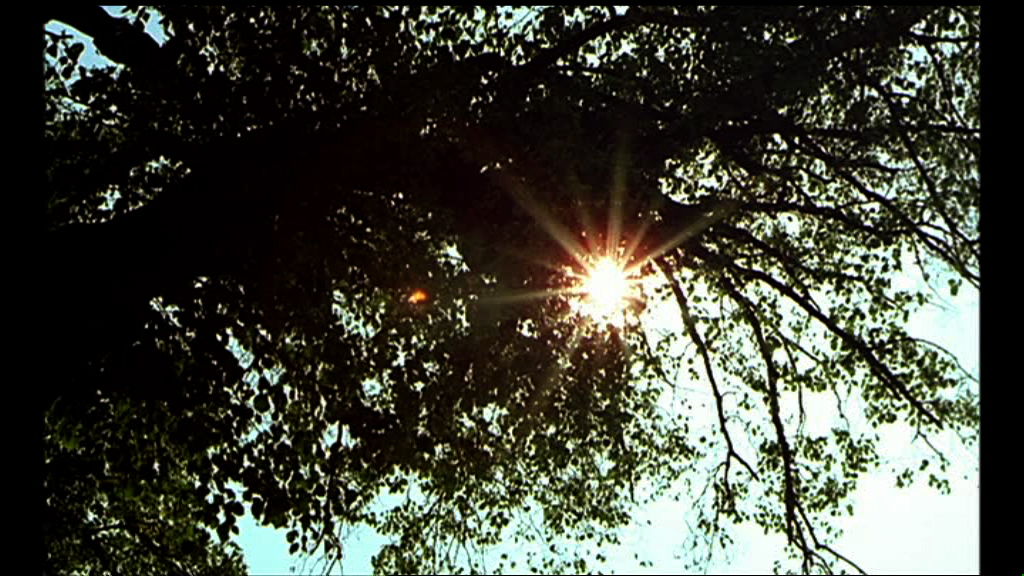
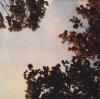
We can start from commenting on the excerpt in a group asking ourselves what sensations are conveyed by: gentle wind, light filtering through the branches and reaching for us, immensity of the tree. Although we can’t see them, perhaps we could sense the roughness and thickness of the roots, texture of the tree and humidity of the soil… Maybe this shot will evoke a memory of a pause on a walk, or perhaps a moment of waking up after a nap under a tree, or a long conversation with friends…
Then we could ask ourselves how the shot was filmed: Where is the camera placed? What is the camera movement like (its direction, rhythm, where it starts and where it pauses)?
Do we know any tree which we would wish to film in a similar way?

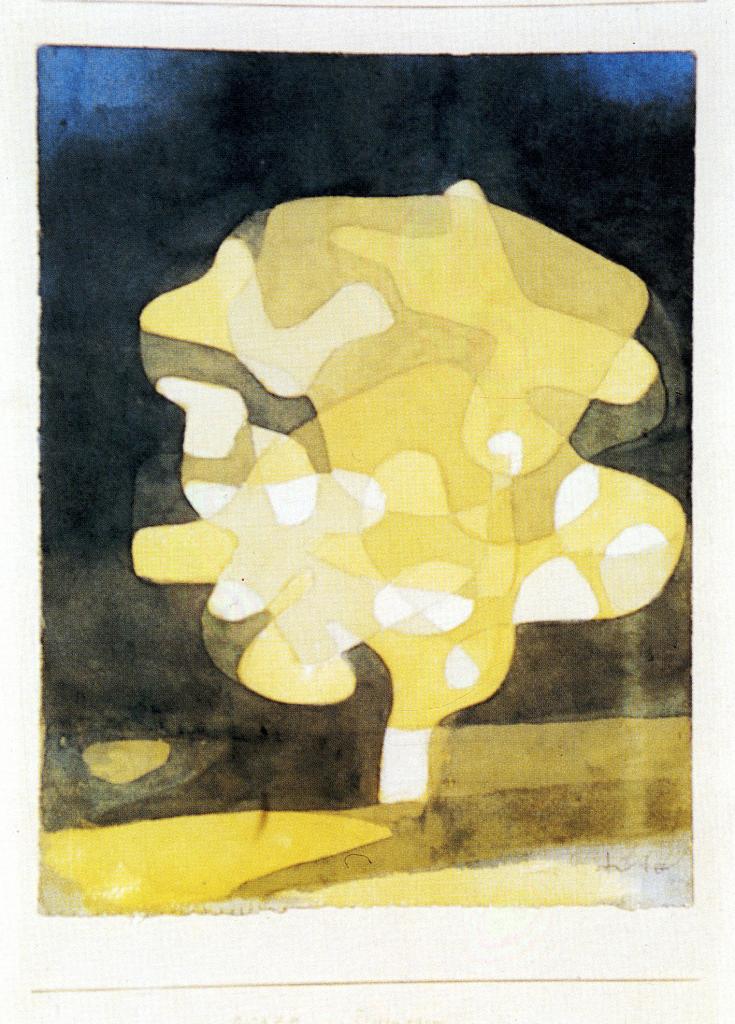
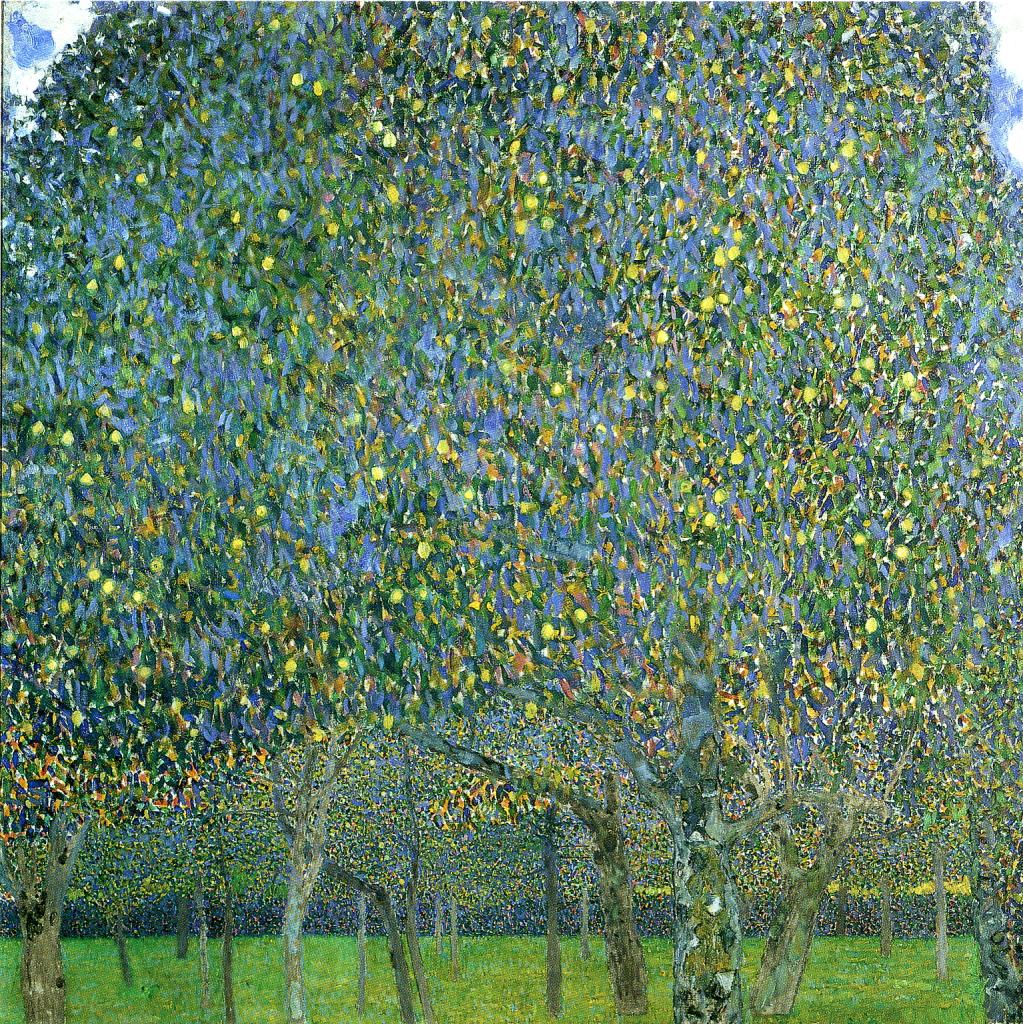

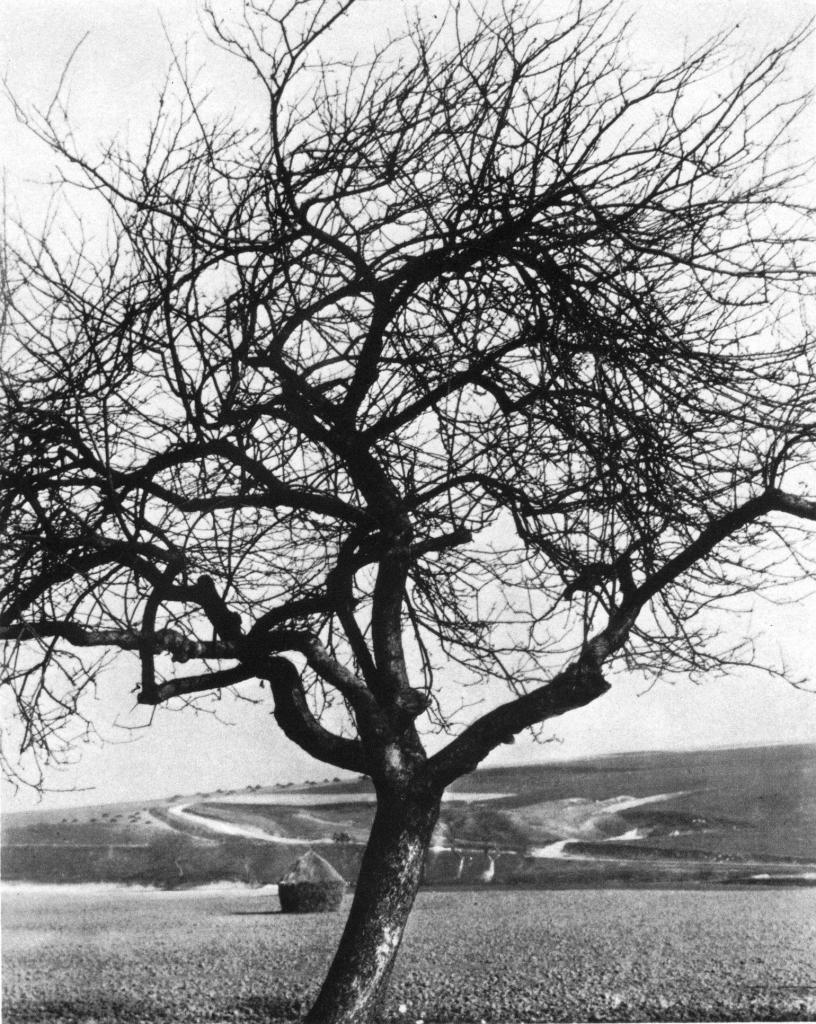
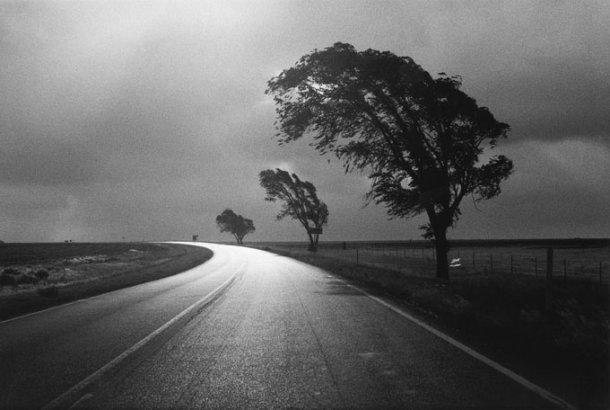


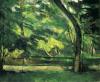

Some pictorial and photographic references
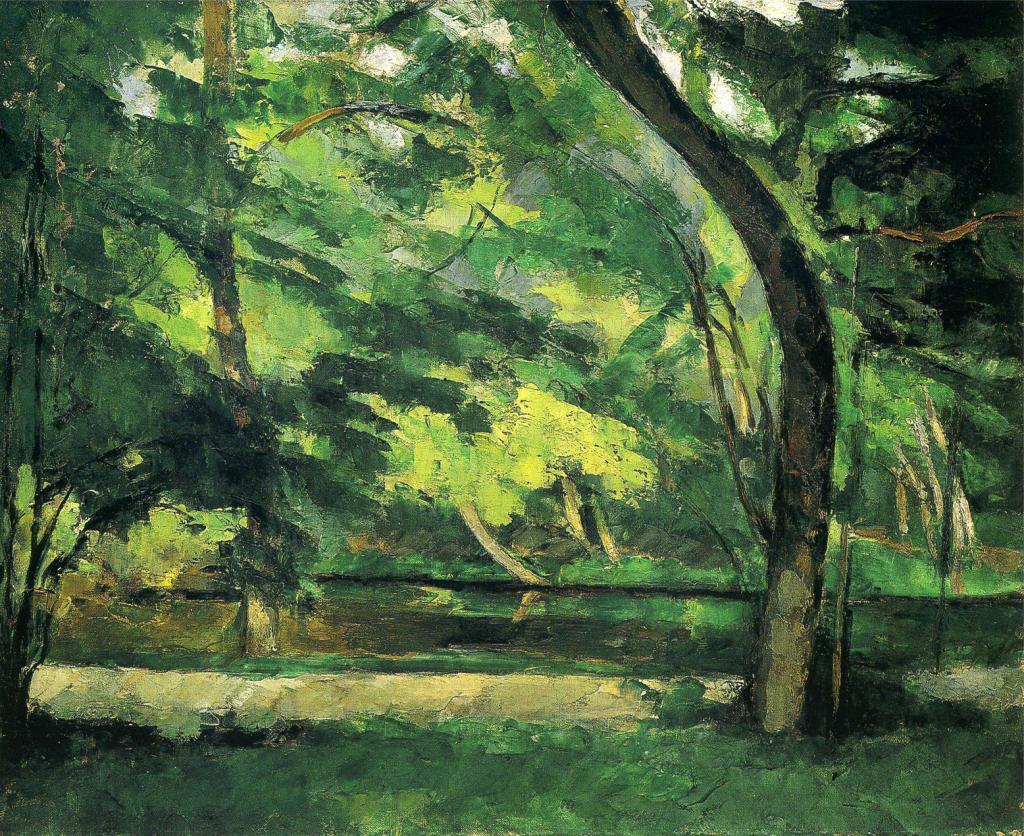
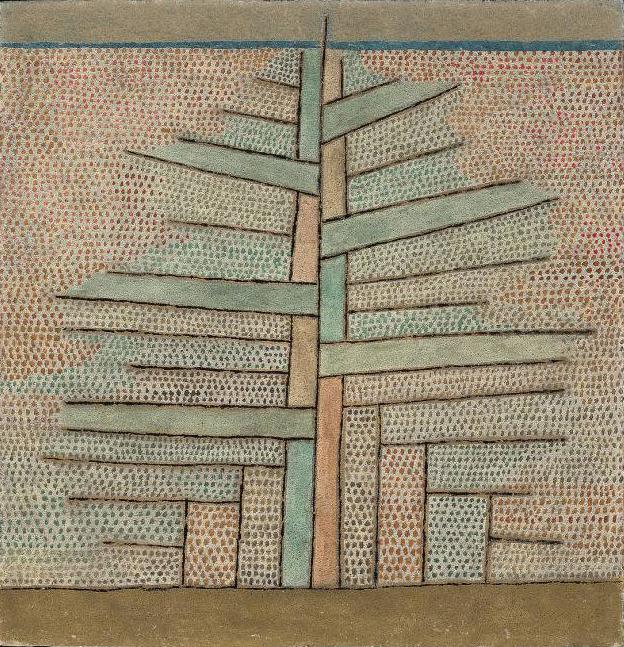
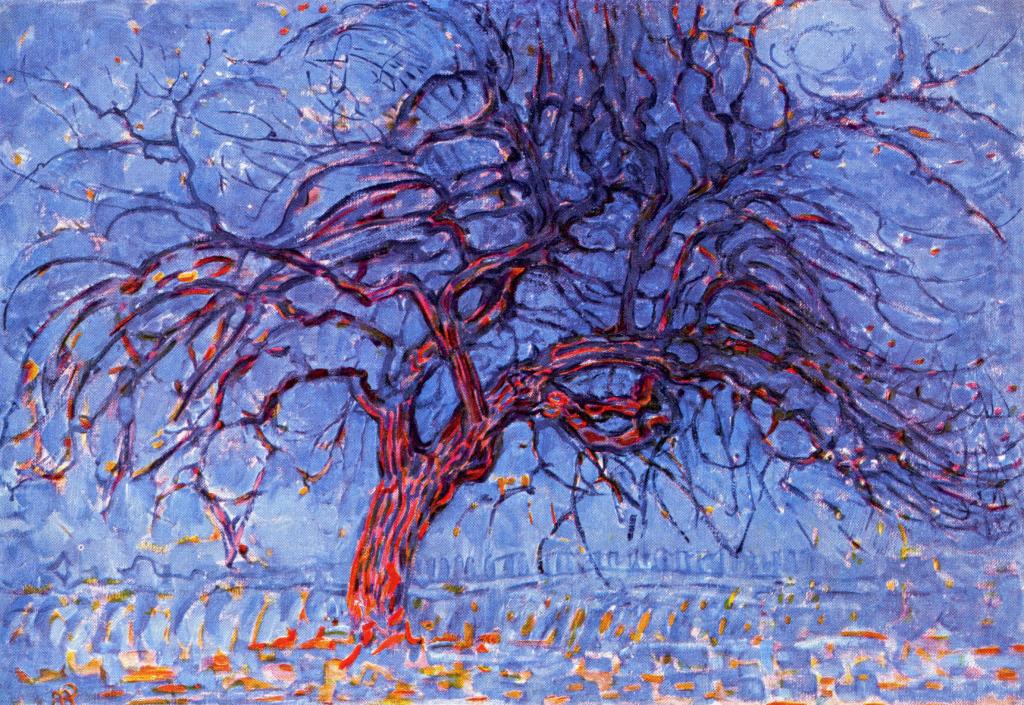
As we have already mentioned, the motive of a tree pervades a big part of the art history, from the traditional Arab paintings to the impressionism and photography.
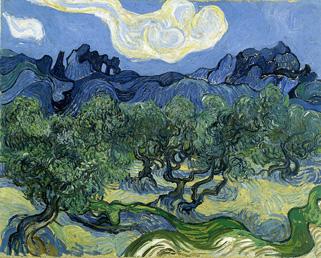
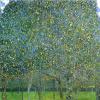
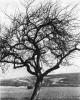
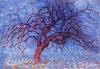
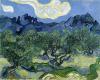
It would be beautiful and interesting to take a look at artworks of those painters who were particularly fond of trees: Vincent Van Gogh, Paul Cézanne, Gustave Klimt or Piet Mondrian are several among them.

![]()
Projektorganisation durch / Projektkoordination durch
with
Co-founded by
Frühere Ausgaben